Menu

Mini Split Installation in Carlton, OR
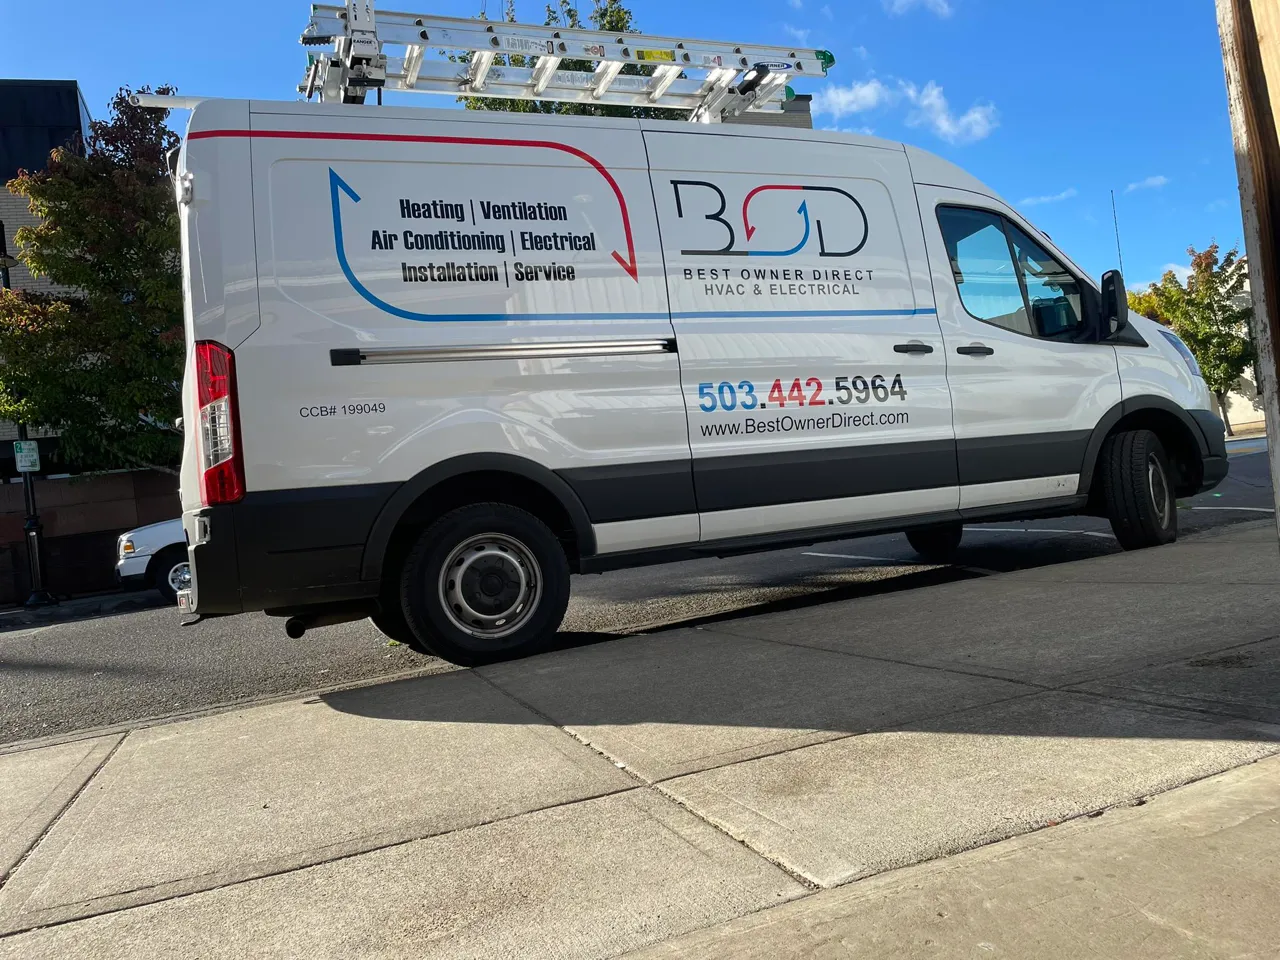
Get reliable mini split installation from Best Owner Direct HVAC & Electrical in Carlton, OR. Perfect comfort for any room. Contact us to schedule today!
Choosing a ductless mini split for your Carlton, OR home provides targeted heating and cooling with high efficiency and flexible zoning. Proper installation is essential to system performance and long-term reliability. This guide explains the complete installation process — from site evaluation and system sizing to professional mounting, refrigerant linework, testing, and homeowner orientation — so you know exactly what to expect for reliable comfort in the Pacific Northwest climate.
Why Mini Splits Are a Smart Choice in Carlton
Mini split systems (ductless heat pumps) are well-suited for Carlton homes thanks to:
- Year-round performance: Efficient heating in winter and reliable cooling in summer
- No duct losses: Reduced energy waste compared to older ducted systems
- Zoned comfort: Precise room-by-room temperature control
- Rebates and incentives: Many Oregon programs support heat pump adoption, lowering costs
- Climate compatibility: Designed for humidity management and cold-weather operation in the Willamette Valley
Installation Types and Common Issues
Homeowners can choose from several installation styles:
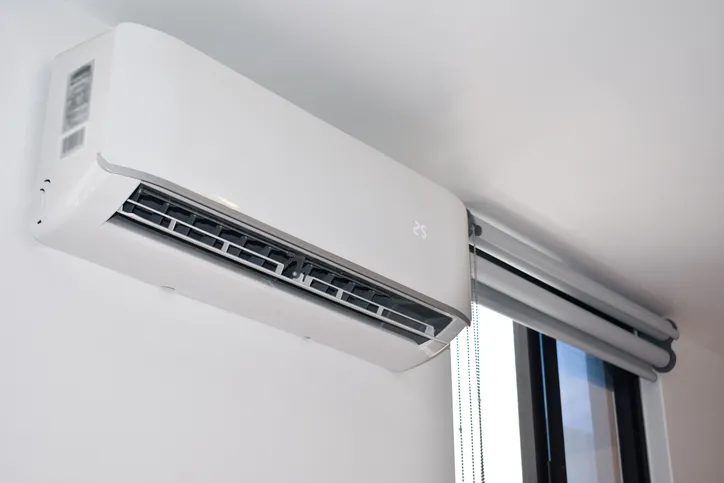
- Single-zone systems: Wall-mounted units for additions, bedrooms, or basements
- Multi-zone systems: One outdoor compressor powering multiple indoor units
- Floor-mounted or ceiling cassettes: For unique spaces or even air distribution
Common installation problems include:
- Undersized or oversized units causing inefficiency
- Improper indoor or outdoor placement leading to airflow issues
- Long line-sets with excessive bends reducing performance
- Poor condensate routing leading to leaks or water damage
- Insufficient electrical supply or grounding
- Incorrect refrigerant charge causing reduced efficiency
Step 1 — Site Evaluation and Load Sizing
Every installation begins with a professional site evaluation:
- Manual J-style load calculations for each room, factoring in insulation, windows, ceiling height, and climate data
- Electrical panel review for breaker capacity and code-required disconnects
- Indoor unit placement planning for comfort, airflow, and aesthetics
- Outdoor unit assessment for snow load, drainage, clearance, and service access
Accurate sizing prevents short cycling, humidity problems, and energy waste.
Step 2 — Indoor and Outdoor Unit Placement
Correct placement improves comfort and efficiency:
- Indoor units: High-wall mounts for cooling distribution, floor units for low-wall rooms, or ceiling cassettes for large spaces. Avoid placing units directly above seating or beds.
- Outdoor units: Stable pad or bracket, elevated above snow and debris, with 2–3 feet of clearance for airflow. Anti-vibration pads help minimize sound transfer.
- Multi-zone routing: Line-sets planned with minimal bends and shorter lengths to maximize capacity.
Step 3 — Mounting and Wall Penetrations
Professional installation ensures durability and airtight sealing:
- Secure mounting brackets anchored to studs or masonry
- Single wall penetration for line set, condensate, and wiring, sealed with weatherproof materials
- Proper condensate drain routing to safe discharge points or plumbing tie-ins, with freeze protection as needed
Step 4 — Refrigerant and Electrical Connections
Precise technical work ensures reliable operation:
- Copper line-sets with insulation, minimal bends, and manufacturer-approved connections
- Nitrogen pressure testing to check for leaks
- Vacuum evacuation and refrigerant charging to specifications
- Dedicated electrical circuit with breaker, disconnect, and grounding per code
Step 5 — System Testing and Commissioning
Final testing verifies safe and efficient performance:
- Pressure and leak checks followed by vacuum and charge confirmation
- Heating and cooling cycle testing with temperature split, airflow, and pressure monitoring
- Defrost cycle verification for winter performance
- Condensate flow testing under load conditions
- System documentation of test results and adjustments for warranty compliance
Step 6 — Homeowner Orientation and Documentation
After installation, homeowners receive a detailed walkthrough:
- Control operation explained: Modes, fan speeds, timers, and zoning adjustments
- Basic maintenance guidance: Filter cleaning, outdoor clearance, and seasonal tasks
- System documentation provided: Model numbers, warranty details, maintenance schedules, and startup records
Benefits of Professional Installation
- Consistent comfort with room-by-room temperature control
- Lower energy bills compared with resistance heating or leaky ducted systems
- Better indoor air quality with proper humidity and drain management
- Extended system lifespan when installed and commissioned correctly
- Full warranty protection with documented startup and service
Maintenance Tips for Carlton Homeowners
- Clean washable filters monthly during high-use seasons
- Keep outdoor units clear of leaves, ivy, and snow buildup
- Schedule annual tune-ups for refrigerant checks, coil cleaning, and electrical inspection
- Monitor condensate drains for algae buildup during wet winters
With proper care, mini splits commonly last 15+ years, providing reliable comfort and efficiency.
Reliable Mini Split Installation with Best Owner Direct HVAC & Electrical
Proper mini split installation in Carlton, OR ensures efficient performance, long equipment life, and consistent comfort tailored to local seasonal needs. From sizing and placement to refrigerant charging and final walkthrough, every step matters in delivering results you can trust.
Choose Best Owner Direct HVAC & Electrical for expert mini split installation in Carlton. Take advantage of current promotions, read our blog for energy efficiency tips, and explore financing options to make upgrades affordable. Schedule your installation today through our contact page and enjoy year-round comfort with precision zoning and efficiency.

