Menu

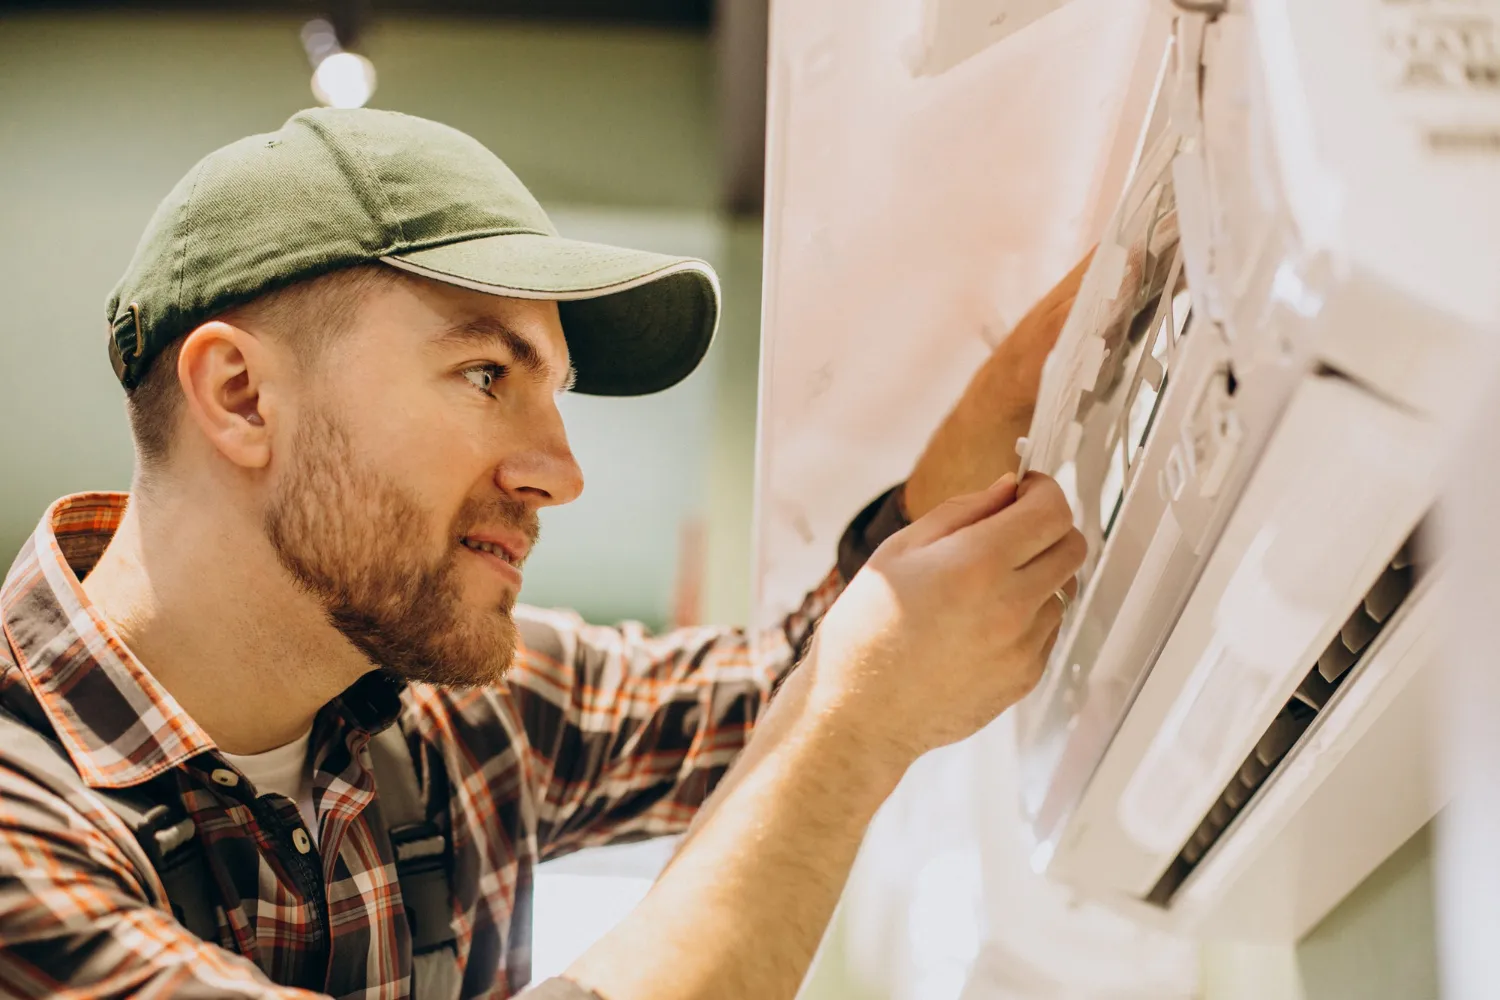
Heat Pump Not Turning On? Start With These Fast Checks
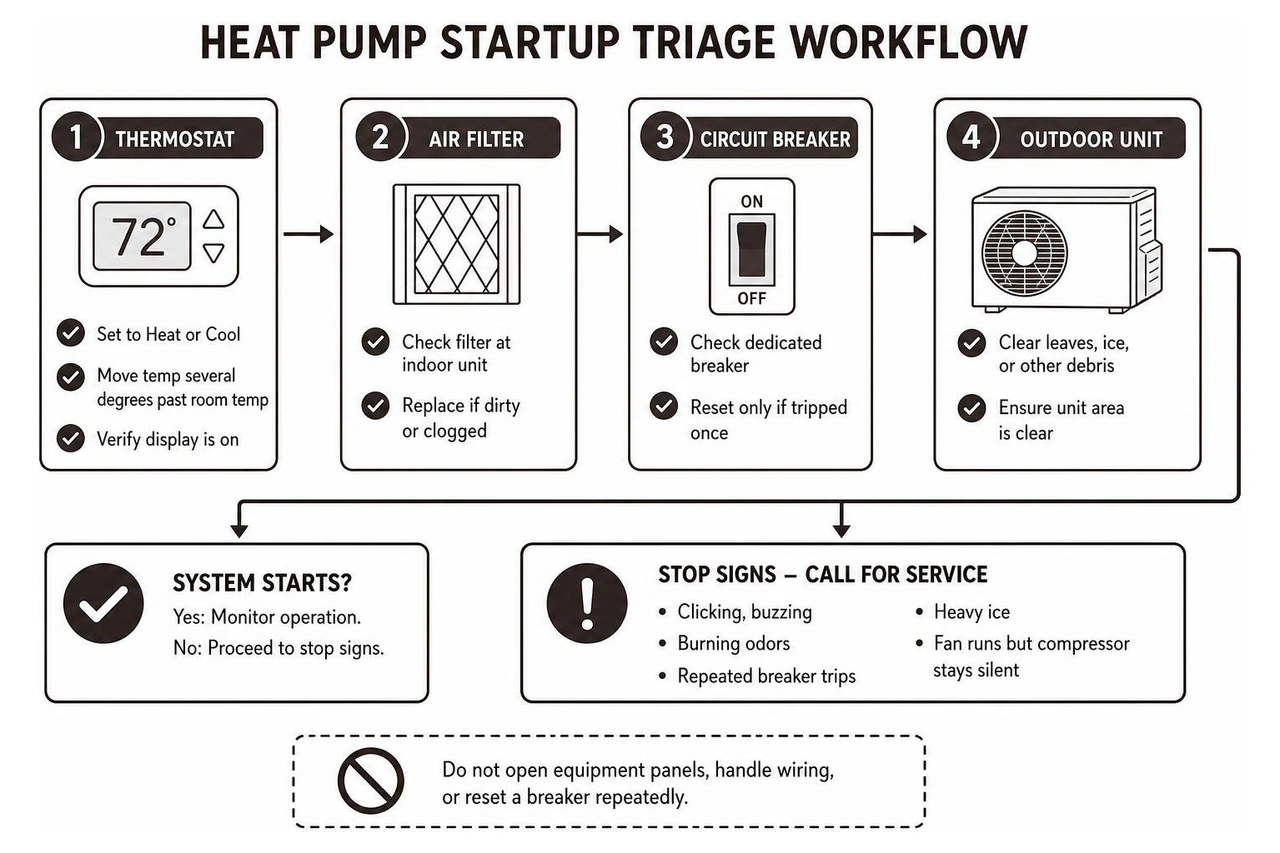
If your heat pump will not start, check the thermostat, air filter, circuit breaker, and outdoor unit before assuming a major failure. Set the thermostat to Heat or Cool and move the temperature setting several degrees past the room temperature. Then make sure the filter is not clogged, check whether the dedicated breaker has tripped, and clear leaves, ice, or other debris from the outdoor unit. For homeowners needing heat pump repair in Cornelius, OR, these simple checks can restore comfort or help narrow down the problem safely. Best Owner Direct HVAC & Electrical is a family-owned company serving Portland metro homes and businesses.
Explore heat pump services | Request heat pump repair help
Do not open equipment panels, handle wiring, or reset a breaker repeatedly. Clicking, buzzing, burning odors, repeated breaker trips, heavy ice, or a fan that runs while the compressor stays silent are signs to stop troubleshooting and call for professional HVAC service.
I'm Chandrine Stepisnik, and the next steps will help you check each likely cause in a safe, simple order.
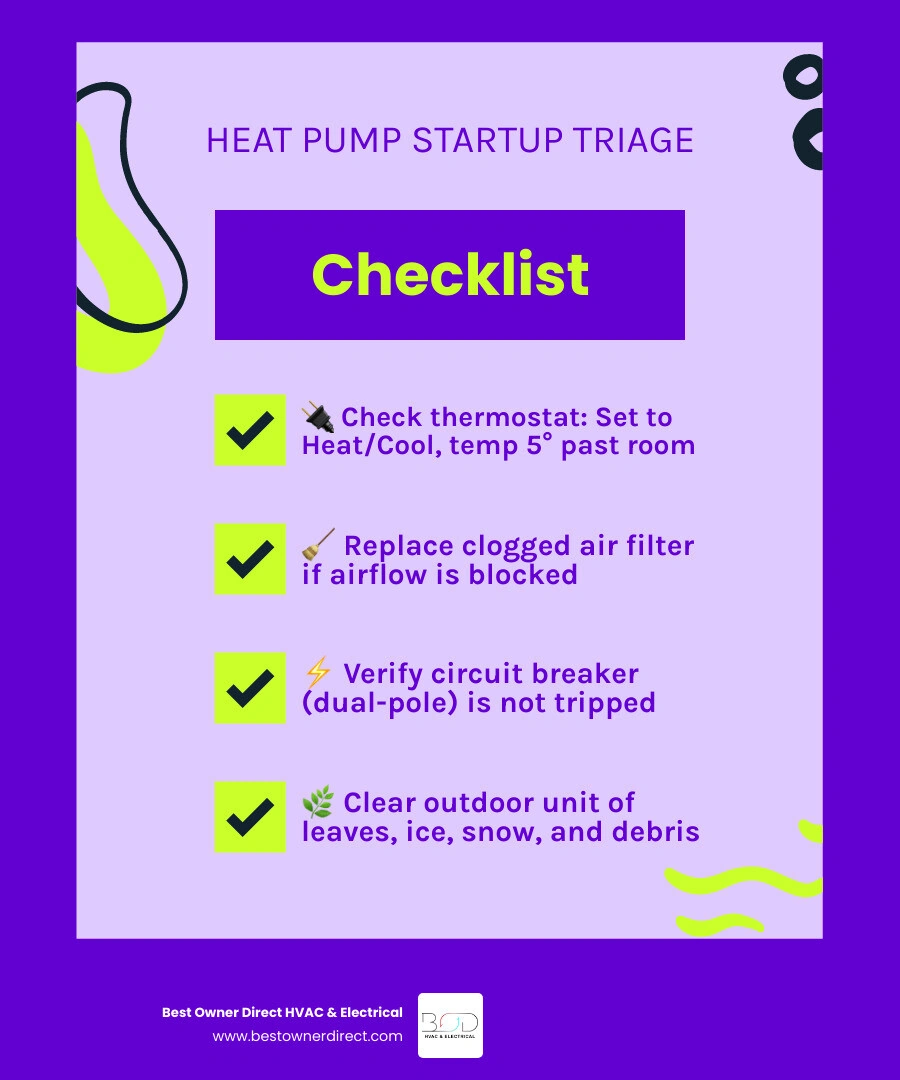
Heat Pump Not Turning On: What to Check First for Fast DIY Triage
When your heating or cooling suddenly stops, it is easy to assume the worst. However, a silent system does not automatically mean your equipment has suffered a catastrophic breakdown. Heat pumps rely on an interconnected sequence of electrical controls, airflow pathways, and safety limit switches. If any single component in that chain detects an unsafe operating condition, it halts startup to protect your home and machinery.
Understanding how does a heat pump work helps put this in perspective. Unlike traditional combustion furnaces that generate heat by burning fuel, a heat pump moves thermal energy between the indoor and outdoor air using circulating refrigerant. Because these systems run year-round-providing warmth through damp Pacific Northwest winters and cooling during hot summer afternoons-their safety controls work continuously.
If your heat pump is not turning on, what to check first is the thermostat, followed by airflow, power supply, and outdoor-unit clearance. Before reaching for tools, following a structured triage sequence allows you to safely isolate basic operational hiccups from major mechanical faults.
Thermostat Power and Settings: What to Check First When a Heat Pump Is Not Turning On
When your system will not respond, start with the thermostat interface. The thermostat acts as the brain of your heating and cooling system; if it cannot transmit a low-voltage call for heating or cooling, the outdoor condenser and indoor air handler will remain completely unresponsive.
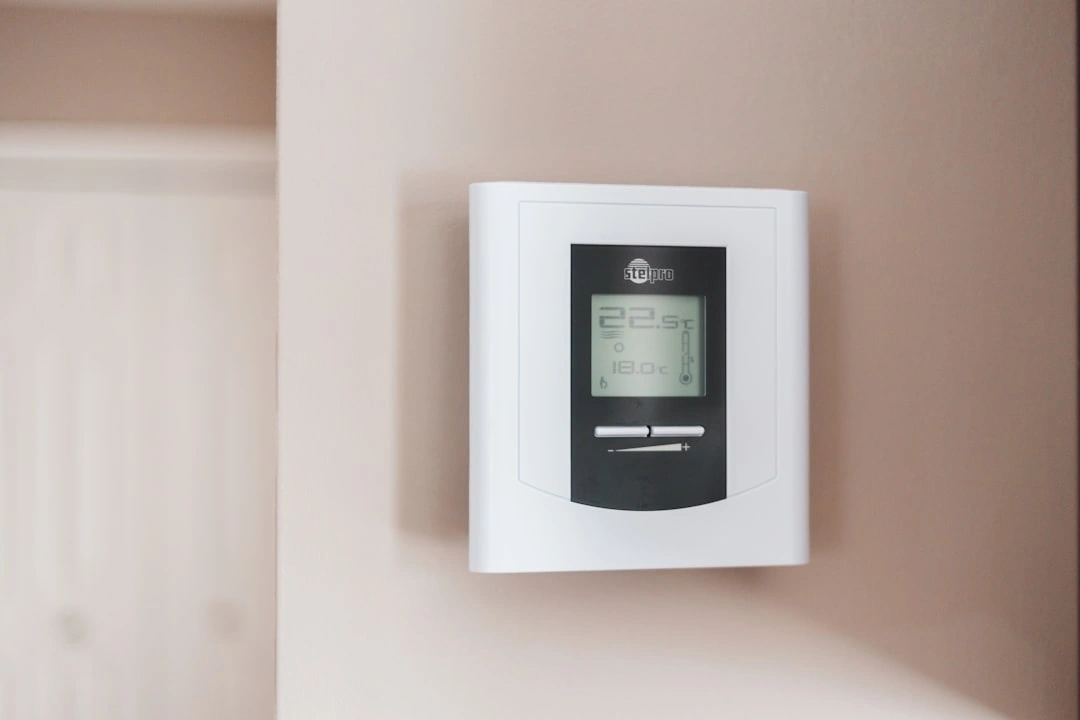
Begin by inspecting the digital display:
- Check Display Illumination: If the screen is completely blank, the unit may have dead backup batteries. Remove the faceplate and replace depleted AA or AAA alkaline batteries.
- Confirm System Mode: Verify that the system switch is firmly set to "Heat" or "Cool" rather than "Off" or "Fan Only."
- Adjust the Setpoint: Set the desired temperature at least 3 to 5 degrees above the current room temperature (in heating mode) or below it (in cooling mode) to force a call for conditioned air.
- Evaluate Wiring and Compatibility: If you recently upgraded your thermostat, confirm that the wiring base is seated securely. Non-compatible aftermarket thermostats or loose C-wire connections can prevent the low-voltage control board from signaling the reversing valve and compressor to turn on.
Tripped Circuit Breakers and Outdoor Disconnect Switches
Heat pumps require substantial electrical energy to operate and utilize two separate circuits: a 120-volt line for the indoor air handler/blower and a 240-volt dual-pole circuit for the outdoor condenser. Power surges, grid fluctuations, or momentary motor overloads can trip these switches.
To safely check your electrical supply:
- Locate your home's main electrical breaker panel.
- Look for dual-pole breakers labeled "Heat Pump," "AC," or "Air Handler." A tripped breaker often rests in a middle position between "ON" and "OFF," showing a small red or orange window indicator.
- Apply the Single Reset Rule: Firmly push the tripped switch all the way to the "OFF" position until it clicks, then switch it back to "ON."
- Check the outdoor disconnect box located on the exterior wall adjacent to your outdoor unit. Ensure the pullout block or toggle switch is firmly engaged in the "ON" position. Also inspect the secondary power switch near the indoor air handler cabinet.
Safety Warning: If a breaker trips again immediately after one reset, stop. A secondary trip indicates a dangerous electrical short circuit, failed component, or ground fault that requires professional diagnostic equipment.
Clogged Air Filters and Safety Switches: What to Check First When a Heat Pump Is Not Turning On
Airflow restrictions represent the single most common cause of heat pump operational failures. When an air filter becomes clogged with dust, pet dander, and airborne debris, the blower motor cannot pull sufficient air across the indoor evaporator coil.
In heating mode, restricted airflow causes heat to build up rapidly inside the air handler, triggering the high-limit thermal switch to shut down the system. In cooling mode, the lack of warm airflow causes the evaporator coil to freeze into a solid block of ice, activating safety cutouts.
Inspect your filter by sliding it out of the return air grille or indoor air handler rack. If light cannot pass through the media, replace it immediately. Standard pleated filters should be replaced every 30 to 90 days. For optimal system airflow, choose filters with a MERV rating between 8 and 11. Routine heat pump maintenance keeps these airflow paths clean and prevents high-limit safety lockouts.
Outdoor Unit Obstructions, Snow, and Debris
The outdoor condenser unit must breathe freely to exchange heat with the outside environment. In our local climate, windblown leaves, yard clippings, and heavy winter precipitation can quickly choke the exterior coils.
- Maintain Perimeter Clearance: Ensure a minimum clearance of 18 to 24 inches of open space around the entire perimeter of the outdoor cabinet, and at least 4 feet of vertical clearance above the top fan grille.
- Clear Seasonal Buildup: Gently remove leaves, brush, pine needles, or packed snow accumulated against the louvered side panels.
- Inspect for Solid Ice: While a light dusting of frost is normal during winter operation, thick slabs of ice encasing the coil will choke airflow and lock out startup. Never chip at ice with sharp metal tools, as this can puncture the delicate aluminum fins and copper refrigerant tubing.
Advanced Mechanical and Electrical Issues Preventing Startup
If preliminary power, thermostat, and filter checks confirm everything is aligned, the underlying cause is likely an internal mechanical or electrical fault. Learning about heat pump failures explained helps you recognize which issues involve high-voltage electricity or pressurized chemicals.
Failed Start Capacitors and Contactor Relays
Capacitors and contactors are critical electrical components housed inside the outdoor service cabinet:
- Start and Run Capacitors: These cylindrical components store electrical charge to provide the initial torque burst required to start the outdoor fan motor and compressor. Capacitors are rated with specific microfarad (µF) tolerances. Over time, heat and electrical wear degrade them. When a capacitor drops below its rated tolerance, the motor cannot overcome static resistance to spin.
- Contactor Relays: The contactor is an electromechanical switch that closes when the thermostat calls for heat, routing 240-volt power to the compressor. If the contact points become pitted, charred from electrical arcing, or blocked by debris, power cannot reach the drive components.
- The Clicking Symptom: If you hear a distinct clicking or humming noise from the outdoor cabinet when the system tries to engage, the low-voltage control board is working, but a bad capacitor or burned contactor is failing to deliver high-voltage current.
Compressor Lockout, Low Refrigerant, and Reversing Valve Failures
More complex mechanical failures involve the closed refrigerant loop:
- Low-Pressure Safety Lockout: Heat pumps contain integrated pressure switches that monitor refrigerant charge. If a line develops a leak and pressure drops below the safety threshold, the low-pressure cutout switch disengages the compressor circuit to prevent mechanical burnout. Recharging refrigerant requires strict regulatory compliance under EPA Section 608 guidelines.
- Stuck Reversing Valve: The reversing valve uses an internal slide mechanism controlled by an electromagnetic solenoid to switch the direction of refrigerant flow between heating and cooling modes. If the solenoid fails or the valve slide gets physically stuck in a neutral position, the system may register a communication error and refuse to turn on.
- Compressor Seizure: The compressor is the mechanical heart of your system. If its internal mechanical bearings seize, the unit will draw excessive amperage and trigger an internal thermal overload lockout.
When encountering refrigerant leaks or internal mechanical blockages, scheduling a professional heat pump repair service is essential to safely diagnose and resolve the issue.
Condensate Drain Line Clogs and Float Switch Activation
During cooling and winter defrost cycles, your heat pump extracts significant moisture from the air. This condensation collects in a drain pan beneath the indoor coil and exits through a PVC drain line.
Over time, algae, dust, and microbial slime can accumulate inside the drain line, blocking water flow. When the pan fills, a safety float switch rises and breaks the 24-volt low-voltage control circuit. This immediately cuts power to the entire system to prevent water from overflowing and causing structural ceiling or floor damage. Clearing the trap and inspecting the float switch often restores system control.
Safe System Reset and Diagnostic Procedures
If safety switches have engaged due to temporary sensor readings or brief power interruptions, performing a controlled manual restart can sometimes clear benign software lockouts.
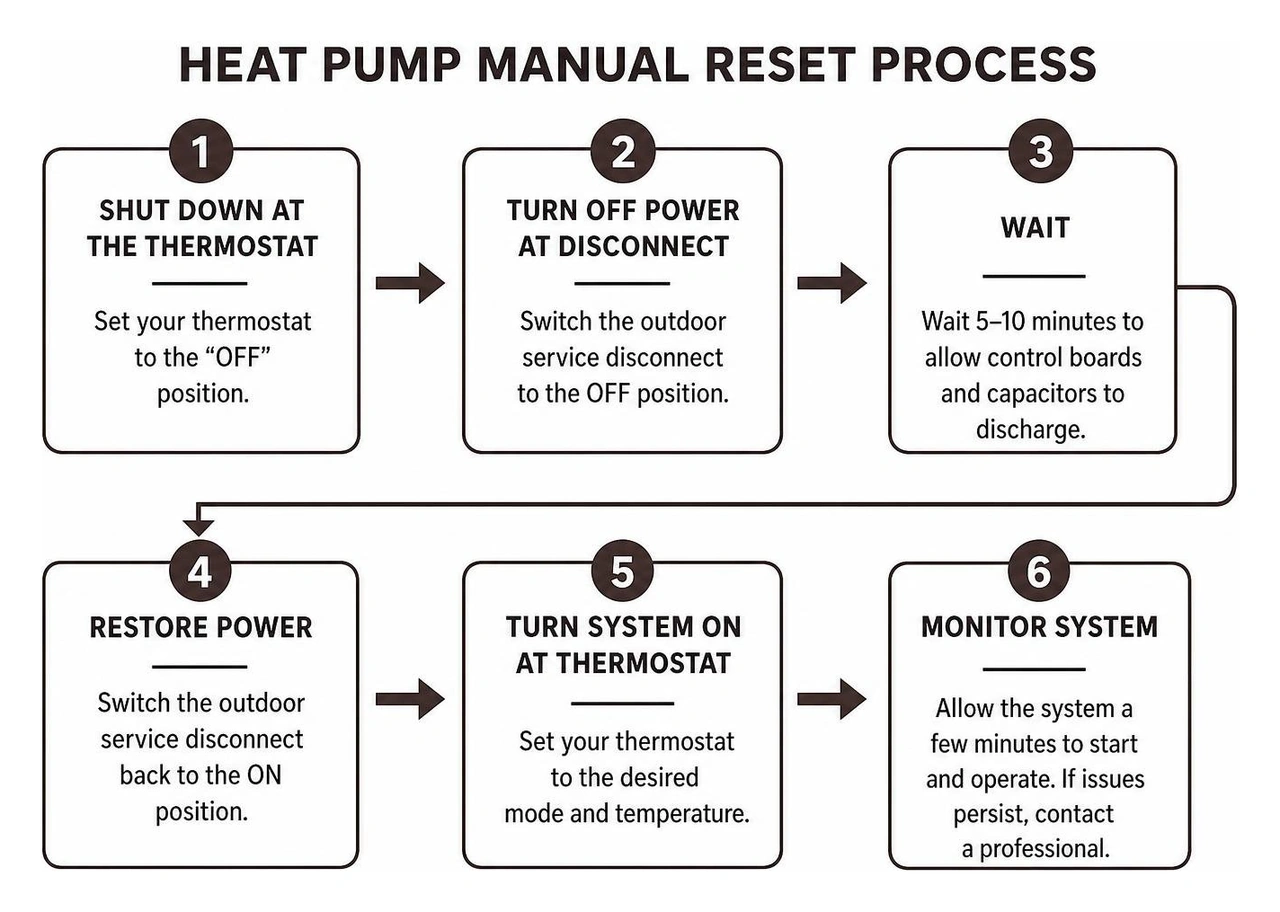
Step-by-Step Heat Pump Reset Sequence
Follow this safe power-cycling procedure to reset your heat pump:
- Shut Down at the Thermostat: Set your thermostat to the "OFF" position.
- Cut Electrical Power: Go to your main breaker panel and switch off the dedicated circuit breakers for both the indoor air handler and the outdoor heat pump.
- Wait Five Minutes: Allow at least five full minutes for all internal microprocessor boards to discharge residual current and for internal refrigerant pressures to equalize safely.
- Restore Electrical Power: Flip both breakers firmly back to the "ON" position.
- Re-engage the Thermostat: Return to your thermostat, set the mode to "Heat" or "Cool," and adjust your setpoint to demand heating or cooling.
- Observe the Startup Delay: Modern heat pumps feature a built-in 3 to 5-minute time delay designed to protect the compressor against short-cycling. Wait patiently for the outdoor fan and compressor to engage.
Scheduling a seasonal heat pump tune up helps verify that electronic defrost controls, time delays, and safety switches are calibrated properly.
DIY Troubleshooting vs. Professional Diagnostic Thresholds
Understanding when to resolve an issue yourself versus when to step back protects your safety and prevents unintended damage to sensitive circuitry.
| Startup Symptom | Probable Root Cause | Safe DIY Action | Professional Action Required |
|---|---|---|---|
| Completely Blank Thermostat Display | Dead batteries or tripped low-voltage transformer | Replace batteries; confirm faceplate is seated | Test 24V transformer and low-voltage wiring |
| Breaker Tripped in Main Panel | Minor grid surge or electrical short | Reset breaker switch once | Diagnose compressor short, ground fault, or wiring fault |
| System Shuts Off After 2–3 Minutes | Severe airflow blockage or high-limit trip | Replace dirty air filter; open closed supply vents | Test static duct pressure and limit switch calibration |
| Outdoor Unit Silent; Rapid Clicking Heard | Failed start capacitor or pitted contactor | Inspect for exterior debris around cabinet | Discharge and test capacitor microfarads; replace contactor |
| Fan Spins Outdoors, but No Heat/Cool | Compressor lockout or bad run capacitor | Verify thermostat setpoint difference | Test compressor windings and run capacitor |
| Indoor Unit Blows Air; Outdoor Unit Dead | Float switch tripped by backed-up condensate | Check drain pan for standing water | Clear condensate drain line; test float switch safety loop |
| Circuit Breaker Trips Instantly on Reset | Direct ground fault or seized compressor motor | Do not attempt further resets | Isolate shorted high-voltage wiring or replace motor |
Attempting to test high-voltage electrical components with a multimeter, manually discharging capacitors, or handling sealed refrigerant systems presents serious hazards and risks voiding manufacturer equipment warranties. When basic steps do not resolve the lockout, professional heat pump service ensures safe, comprehensive diagnosis.
Frequently Asked Questions About Heat Pump Startup Problems
Why is my heat pump making a clicking sound but not starting?
A clicking sound paired with a failure to turn on almost always indicates that the low-voltage control signal is reaching the outdoor unit, but a high-voltage mechanical component cannot engage.
When your thermostat calls for conditioning, it energizes a low-voltage magnetic coil inside the contactor relay. The contactor pulls down with an audible "click" to route 240-volt power toward the compressor and outdoor fan motor. If the start capacitor has weakened and cannot provide the necessary microfarad boost, or if the compressor motor is mechanically locked, the unit will click, hum briefly, and fail to turn over.
Can low refrigerant prevent a heat pump from turning on?
Yes. Heat pump systems incorporate factory-installed safety controls, including low-pressure cutout switches. Refrigerant operates within a closed, pressurized loop. If a joint, flare fitting, or coil develops a leak, the internal pressure drops.
Running a compressor without sufficient refrigerant causes extreme thermal friction and motor burnout, because the circulating refrigerant oil keeps internal moving parts lubricated and cooled. When pressure drops below a safe baseline, the sensor breaks the electrical circuit to lock out startup until the leak is located, repaired, and the system is recharged.
How do I know if my heat pump needs repair or total replacement?
Deciding whether to repair an unresponsive system or replace it involves evaluating several key factors:
- Equipment Age: Standard heat pumps have an average operational lifespan of 10 to 15 years due to their continuous, year-round operation. If your unit is approaching or exceeding 12 years of age, major component breakdowns often signal that the equipment is nearing the end of its useful life.
- Frequency of Breakdowns: If you find yourself scheduling repairs multiple seasons in a row, ongoing component degradation indicates that critical parts are wearing out across the entire system.
- Overall System Performance: If the equipment struggles to maintain target indoor temperatures, runs constantly, or experiences recurring mechanical lockouts, investing in updated equipment is typically the more reliable long-term choice.
Reviewing the warning signs your heat pump needs to be replaced can clarify whether minor repairs make sense or if planning for a whole-home heat pump replacement is the best path forward.
Conclusion
A heat pump that refuses to start can disrupt your daily routine, but methodically working through simple checks—verifying thermostat settings, checking power switches and breakers, clearing outdoor debris, and replacing dirty filters—resolves many common startup issues without unnecessary stress.
When simple triage steps do not restore your heating or cooling, prompt diagnostic assistance from experienced technicians ensures the underlying issue is resolved safely. Best Owner Direct HVAC & Electrical is a family-owned HVAC, electrical, and water-heater services company based in Cornelius, OR, serving homeowners and businesses throughout the Portland metro and surrounding Oregon communities.
Our licensed technicians provide dependable same-day and emergency service across Banks, Beaverton, Canby, Carlton, Cornelius, Dayton, Dundee, Forest Grove, Gaston, Gladstone, Hillsboro, King City, Lafayette, Lake Oswego, Milwaukie, Newberg, North Plains, Oregon City, Portland, Sherwood, Tigard, Tualatin, West Linn, Wilsonville, and Yamhill.
Whether you need immediate heat pump repair near me cornelius or seasonal care for your residential heat pump system, we are here to help keep your home safe and comfortable all year long.


Why We Always Check the Evaporator Coil Before Switching to HeatThat harsh burning smell when you first turn on your furnace isn't always harmless dust. Learn how summer grime left on your AC coil becomes a hidden heating hazard.
Read more
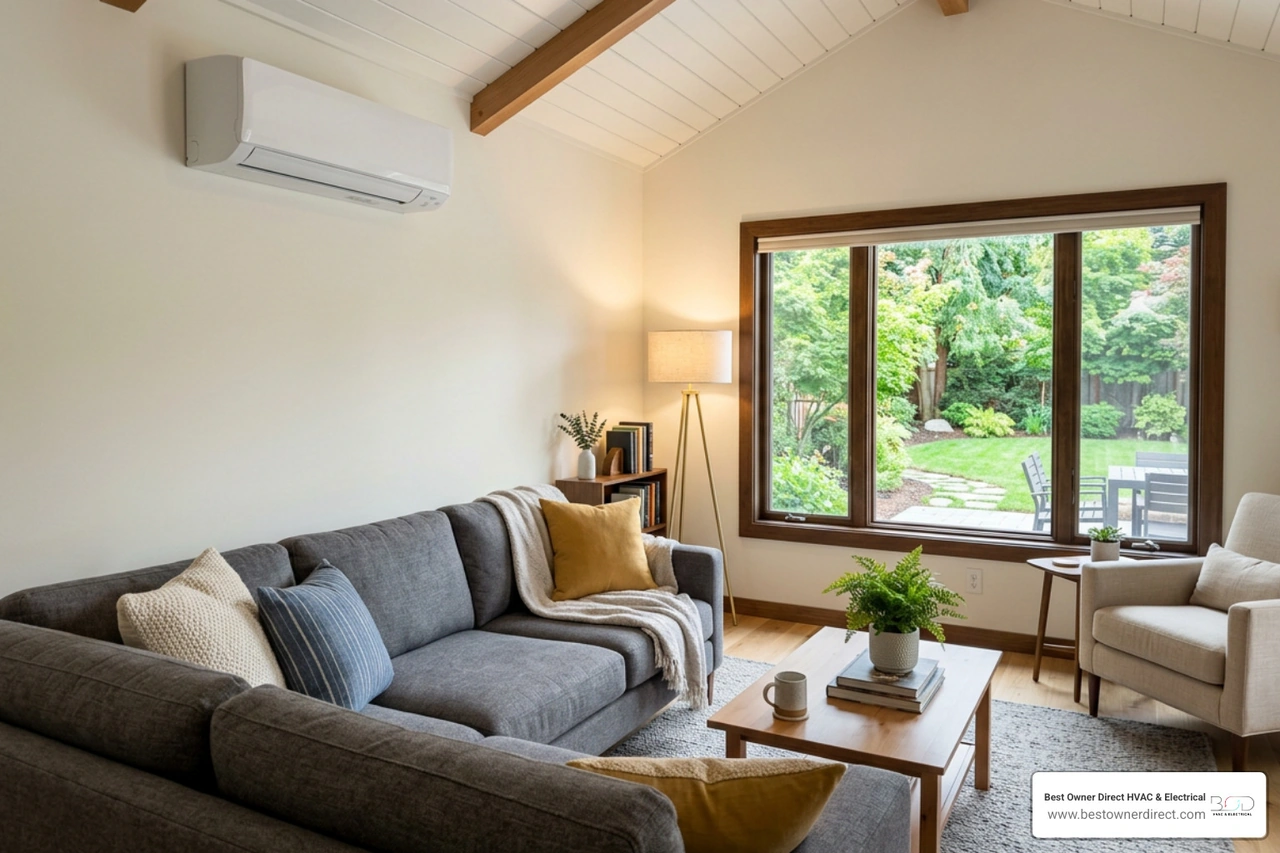
Step-by-Step Guide to Mini Split Benefits for Garages & Bonus RoomsDiscover the mini split benefits for additions garages and bonus rooms with our step-by-step guide on zoned comfort, energy savings, and installation.
Read more
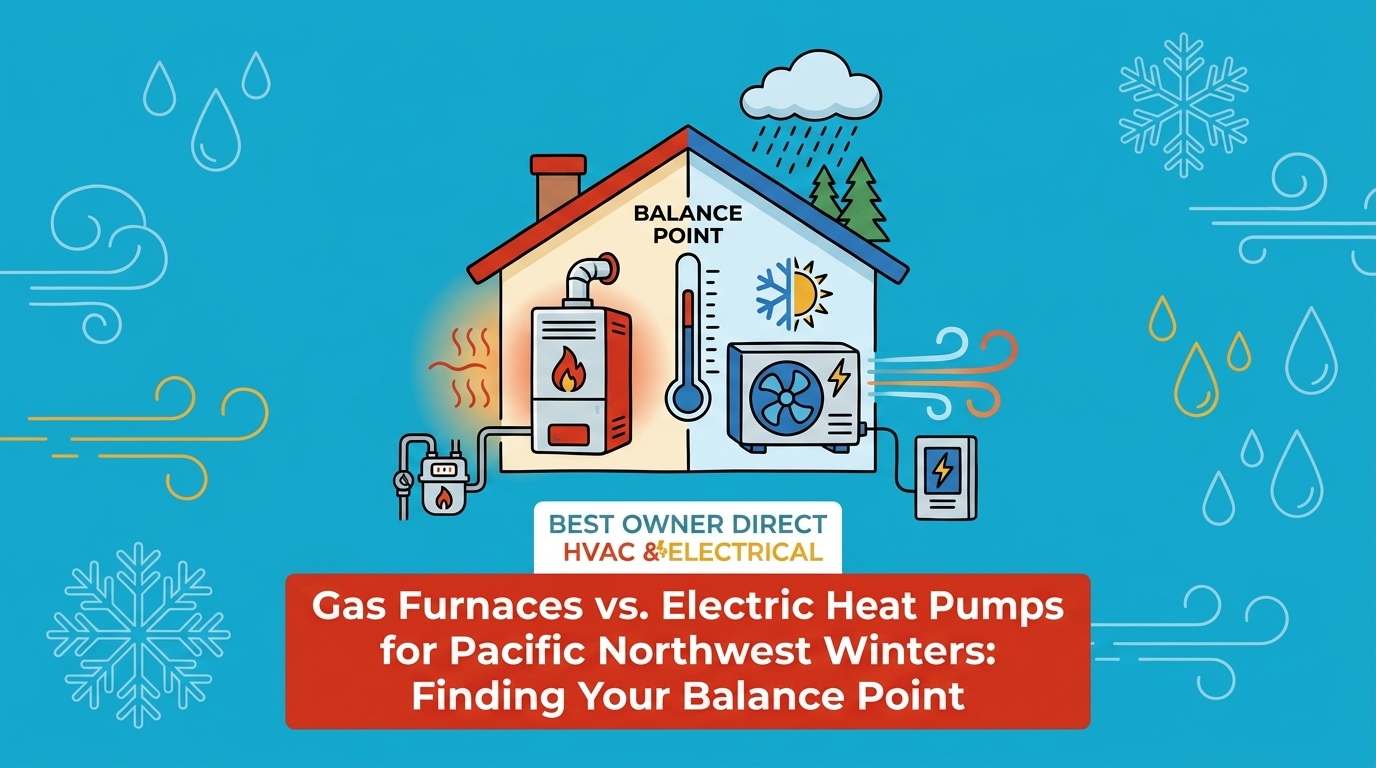
Gas Furnaces vs. Electric Heat Pumps for Pacific Northwest WintersBefore the cold sets in, deciding between a standard heat pump and a dual-fuel system is crucial. Explore how wet, near-freezing climates impact your heating choices.
Read more