Menu


Step 1: Confirm System Sizing, Unit Locations, and Permitting Requirements
Before tools ever touch your walls, the most critical step in learning how to prepare your home for mini split installation day is verifying that you have selected the proper unit size, designated the best installation spots, and pulled any required local permits.
Choosing Locations and Planning How to Prepare Your Home for Mini Split Installation Day
Choosing where to place both the indoor air handler and the outdoor condenser is vital for comfort, efficiency, and system longevity. For the indoor unit, pick a spot on an exterior wall if possible, as this simplifies routing the line set and condensate drain directly outside.
Mount the indoor head unit at least six to seven feet above the floor. You should ensure there is at least six inches of clear space above the unit and on both sides to allow proper airflow and easy filter access. Keep the indoor unit away from direct sunlight, heat-generating appliances, and obstructions like tall furniture or bookshelves that could block airflow.
For the outdoor condenser:
• Set the condenser on a level concrete pad or an elevated wall-mounting bracket.
• Elevate the unit at least four to twelve inches above the ground to protect it from dirt, debris, and standing water.
• Maintain at least two feet (24 inches) of open clearance on all sides for proper airflow and routine maintenance access.
• Avoid placing the condenser directly under roof drip lines where falling rain, ice, or roof debris could damage the unit.
Sizing, Permits, and Local Building Codes
Sizing a mini split system requires matching its cooling and heating capacity (measured in BTUs) to the room's square footage and physical characteristics. Using a general rule of thumb of 20 BTUs per square foot provides a reliable starting baseline:
• 300 to 550 sq ft: 12,000 BTU (1-ton system)
• 700 to 900 sq ft: 18,000 BTU (1.5-ton system)
• 1,000 to 1,200 sq ft: 24,000 BTU (2-ton system)
Adjust these baseline numbers based on your home's layout. Add 10% capacity for rooms with ceilings over 10 feet high, spaces with large south-facing windows, or poorly insulated rooms. Subtract 10% for shaded basements or lower-level rooms. Getting this calculation right prevents short-cycling (where a system turns on and off too frequently) or constant running.
Do not overlook code compliance. Most local jurisdictions require mechanical and electrical permits for new HVAC equipment and electrical hookups. Submitting permit applications at least a week in advance ensures your project aligns with regional building standards.
Step 2: Complete Electrical and Wall Hole Routing Preparations
Proper electrical setup and wall penetrations are essential to safe, reliable operation.
Most single-zone and multi-zone mini split systems require a dedicated 240-volt electrical circuit. According to National Electrical Code (NEC Article 440) rules, an outdoor disconnect switch must be installed within sight of the outdoor condenser. Make sure your main electrical panel has space for a dedicated two-pole breaker.
Routing the connecting lines between the indoor and outdoor units requires drilling a wall hole. Here is how to plan that passage:
• Use a 2.5-to-3-inch hole saw to create a clean opening through the exterior wall.
• Drill the hole at a slight downward slope toward the exterior (about a ¼-inch drop per foot). This subtle angle is critical—it ensures condensate water drains freely via gravity rather than backing up into your living space.
• Pass a protective wall sleeve through the opening to prevent the line set, wiring, and drain hose from rubbing against sharp edge materials inside the wall.
Step 3: Clear the Work Areas and Exterior Access Paths
On installation day, technicians or DIY helpers will need room to move, lift equipment, drill holes, and make precise connections. Clearing physical access paths is one of the most effective ways to ensure the installation goes smoothly.
Inside your home, move furniture, decor, and window coverings at least three to four feet away from the target installation wall. Use a stud finder early to locate wall framing members, ensuring the mounting bracket connects securely to solid wood studs.
Outside, clear a path from the driveway to the outdoor condenser location. Remove outdoor furniture, yard tools, garden hoses, or overgrown vegetation that could block access. Ensure technicians have a flat, safe area to work around the outdoor pad.
Keep pets and young children safely contained in a separate room or section of the house. This prevents curious pets or kids from wandering into active work paths, stepping on sharp copper fittings, or getting startled by heavy drilling noises.
Step 4: Protect Your Home Surfaces and Set Up Safety Measures
Drilling through exterior siding, sheetrock, and insulation generates dust and fine debris. Taking proactive steps to protect your floors, walls, and furnishings makes post-installation cleanup fast and easy.
Lay down thick drop cloths or heavy-duty floor runners along the walking path from your entrance door to the interior work area. Cover nearby furniture, TV screens, or decorative items with light plastic sheeting to catch drifting drywall dust.
Establish a dedicated staging area near the work site to place tools, torque wrenches, vacuum pumps, and copper tubing reels. Keeping equipment organized in one spot prevents accidental scratches on wood floors or scuffs on baseboards.
Step 5: Final Checklist and Post-Install Maintenance
Reviewing a comprehensive checklist on installation morning keeps every phase of the project organized.
• Pre-Install Prep — Focus Area: Approvals & Clearances — Action Items: Confirm permits, check dedicated 240V circuit, clear 3ft space around indoor/outdoor sites.
• Pre-Install Prep — Focus Area: Site Protection — Action Items: Lay drop cloths along entry paths, cover nearby furniture, secure household pets.
• Install Day — Focus Area: Mechanical Mounting — Action Items: Secure indoor bracket into studs, set outdoor unit on level pad 4-12 inches off ground.
• Install Day — Focus Area: Line Routing & Sealing — Action Items: Drill 2.5–3" sloped hole downward; connect lines with torque wrench; check drain slope.
• Commissioning — Focus Area: Testing & Air Quality — Action Items: Evacuate lines to 500 microns; check for leaks; inspect and wash built-in mesh air filters.
Managing Refrigerant Lines, Filtration, and Final Setup Details
Connecting copper refrigerant lines requires precise care. Over-tightening or under-tightening flare nuts is the primary cause of system refrigerant leaks. Technicians use a torque wrench set to precise manufacturer specs rather than guessing by feel. Both the suction and liquid copper lines should be individually wrapped in ⅜-inch closed-cell foam insulation to maintain efficiency and prevent sweating.
Before releasing refrigerant into the system, the line set must be evacuated using a micron gauge and vacuum pump. Pulling a vacuum down to 500 microns for at least 15 minutes removes non-condensable gases and moisture. Even tiny amounts of residual moisture inside closed lines can combine with oil to form damaging acid, ruining the internal compressor. Certified handling of refrigerants complies with EPA Section 608 guidelines to ensure environmental safety and legal compliance.
Once the system is powered up and operating, turn your focus to air filter care. Modern indoor heads include built-in washable mesh pre-filters that capture large dust particles to keep the internal evaporator coil clean.
Filter maintenance best practices:
1. Turn off power to the indoor air handler.
2. Open the front intake panel and slide out the mesh filter screens.
3. Rinse the mesh filters under cool tap water or use a soft brush attachment on a vacuum cleaner.
4. Allow filters to air dry completely before reinstalling them.
5. Clean these washable mesh filters every two weeks during peak heating and cooling seasons.
Frequently Asked Questions About Mini Split Installation Prep
Do I need to pull a permit before installation day?
Yes. Most cities and counties require building and electrical permits for installing a new mini split system. Electrical permits ensure that your dedicated circuit, breaker size, and outdoor disconnect switch comply with local safety codes. Checking with your municipal building department at least a week before starting prevents fines or issues during home resale.
How much clearance does the indoor and outdoor unit need?
The indoor air handler should be mounted six to seven feet high on the wall with at least six inches of clear space above and on both sides. The outdoor condenser unit needs at least two feet (24 inches) of unobstructed clearance on all sides for airflow, as well as four to twelve inches of ground elevation on a pad or bracket.
How do I protect my floors and walls during installation?
Clear a three- to four-foot workspace around the mounting wall and move light fixtures or hanging artwork. Lay drop cloths or floor runners along high-traffic entryways, and cover nearby furniture with plastic sheets to shield them from drywall dust generated during wall drilling.
Conclusion
Taking the time to learn how to prepare your home for mini split installation day pays off immediately. By confirming unit sizing, clearing physical work paths, preparing dedicated electrical circuits, and protecting interior surfaces, you set the stage for an efficient, hassle-free installation.
At Best Owner Direct HVAC & Electrical, we deliver reliable, affordable, and energy-efficient ductless solutions to homeowners across the Pacific Northwest. Our licensed technicians handle every phase of system sizing, electrical wiring, and precision line commissioning, giving you dependable comfort season after season.



Sealing Leaky Ductwork Before the Winter Cold Sets InYour furnace is only as effective as the ducts delivering its warmth. If you're tired of drafty rooms, securing your system's thermal envelope is the first step to true winter comfort.
Read more
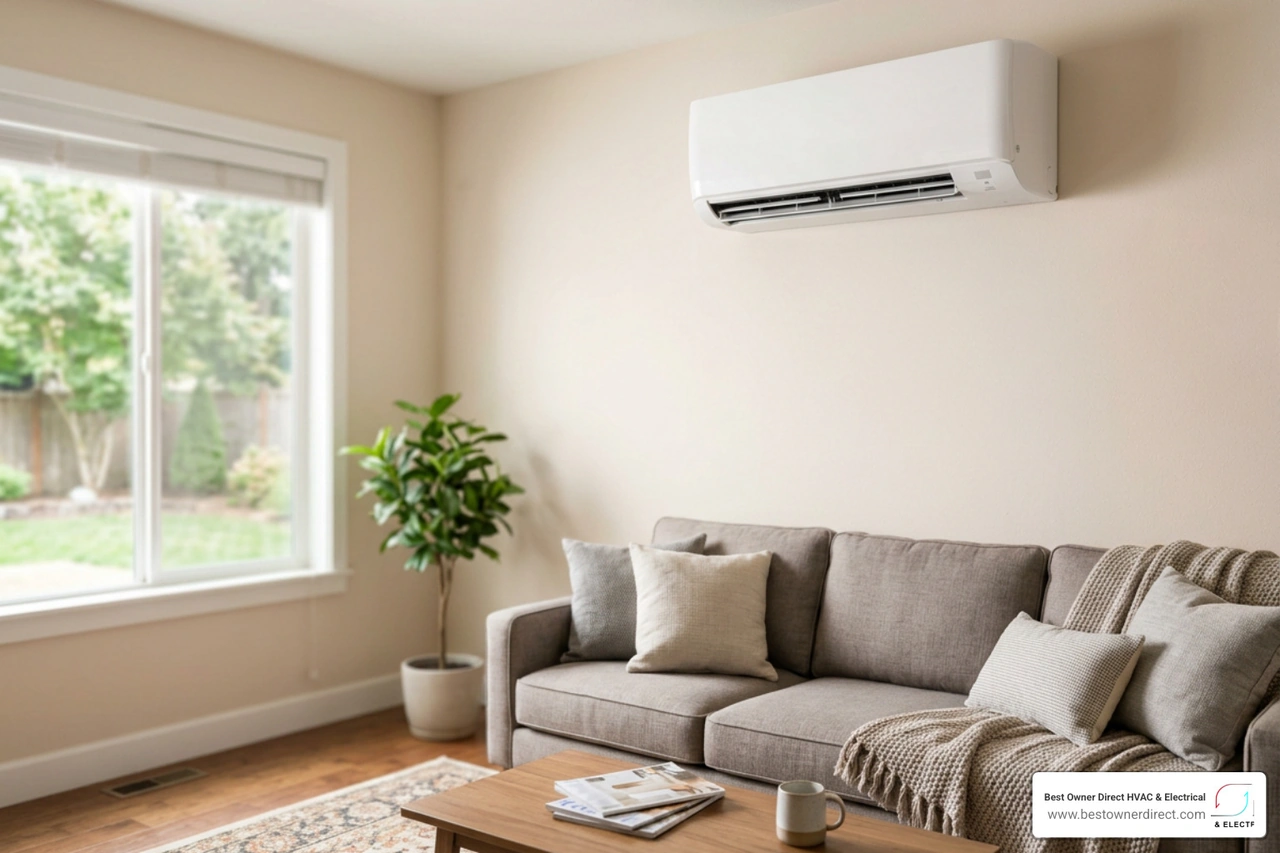
All About How a Mini Split Adds Value to Your HomeLearn how a mini split adds value to your home with energy savings, zoned comfort, and increased property valuation.
Read more
How Blocked Return Vents Suffocate Your Heating SystemMany homeowners accidentally cover large return grilles when rearranging furniture for the fall. Find out how this simple mistake starves your furnace of airflow and causes it to overheat.
Read more