Menu

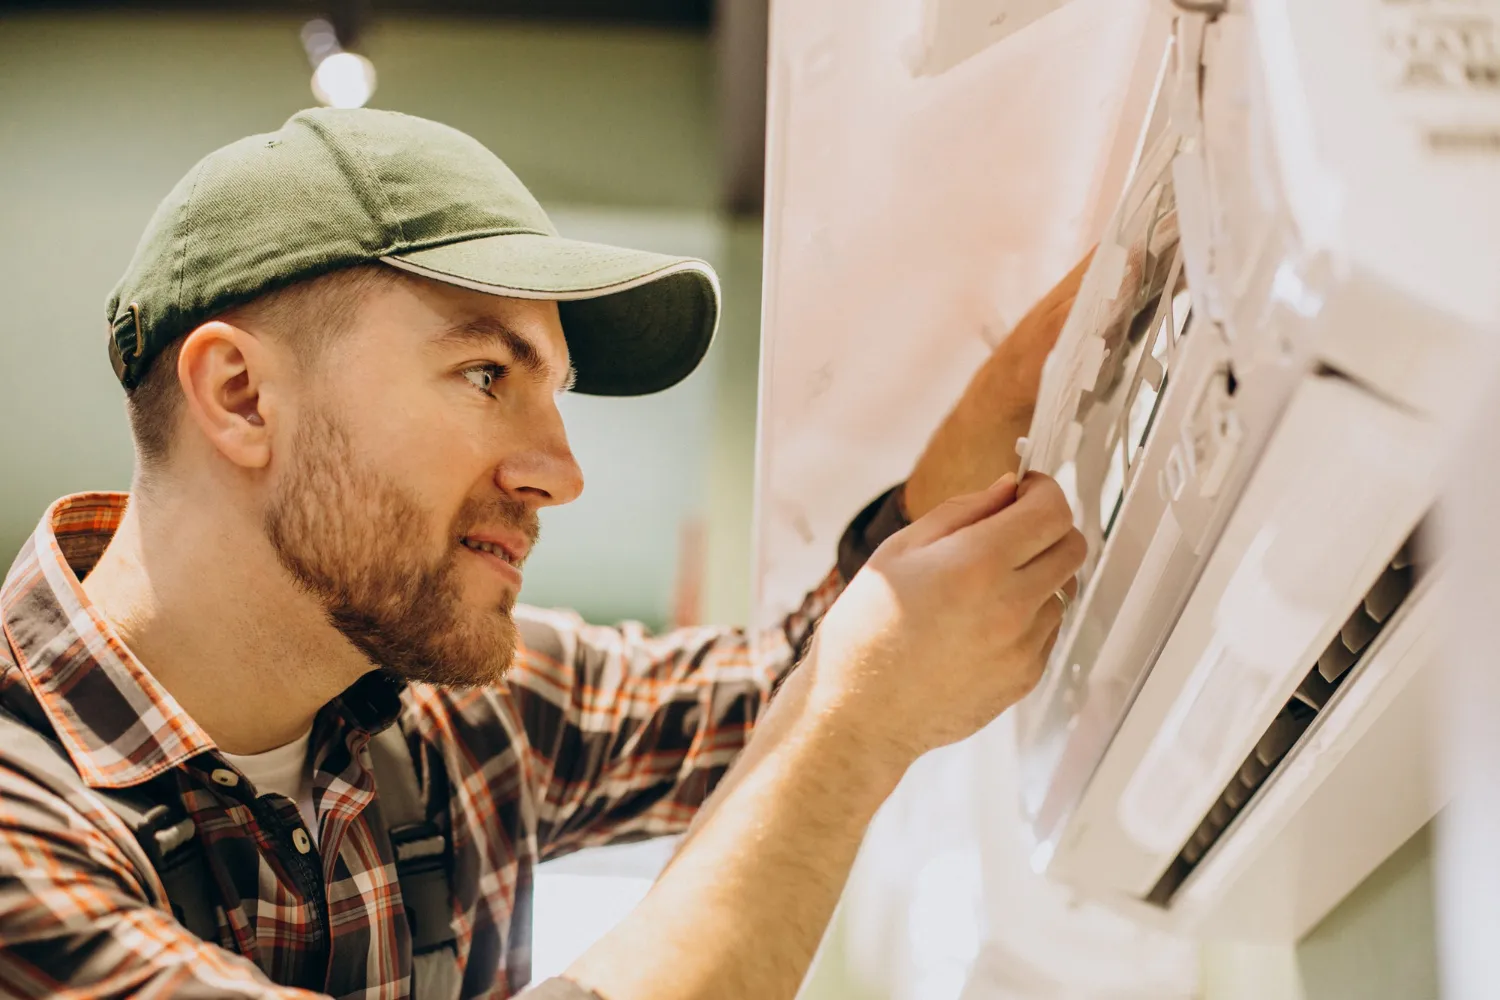
Check Your Thermostat Before Heat Pump Repair in Cornelius, OR
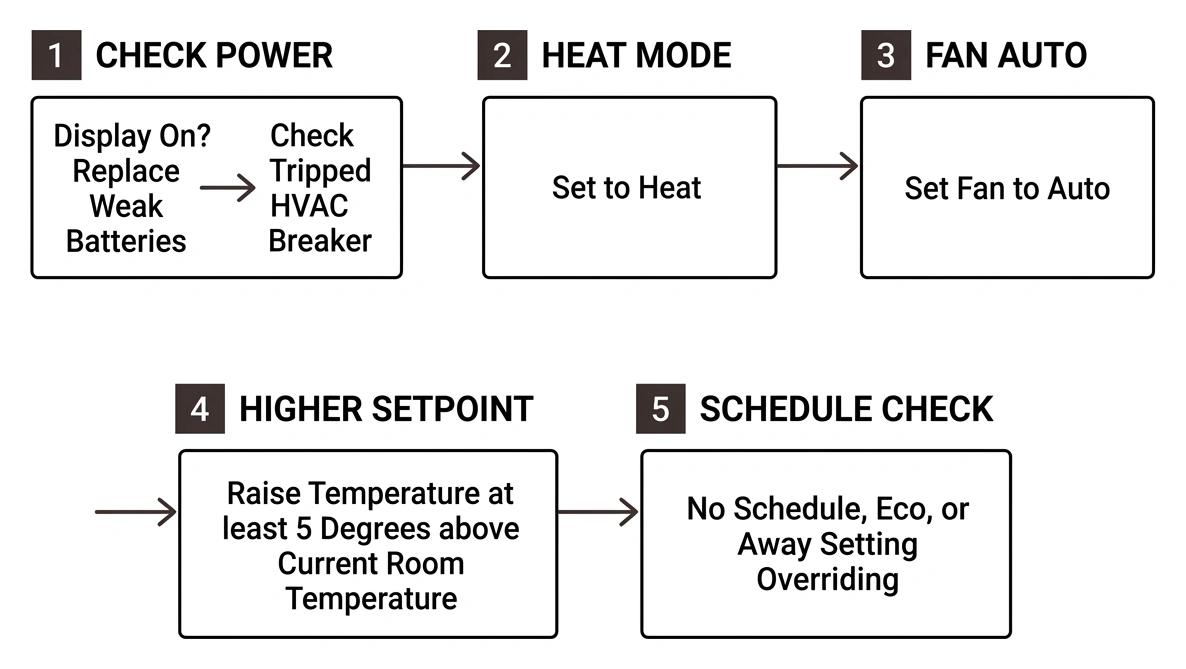
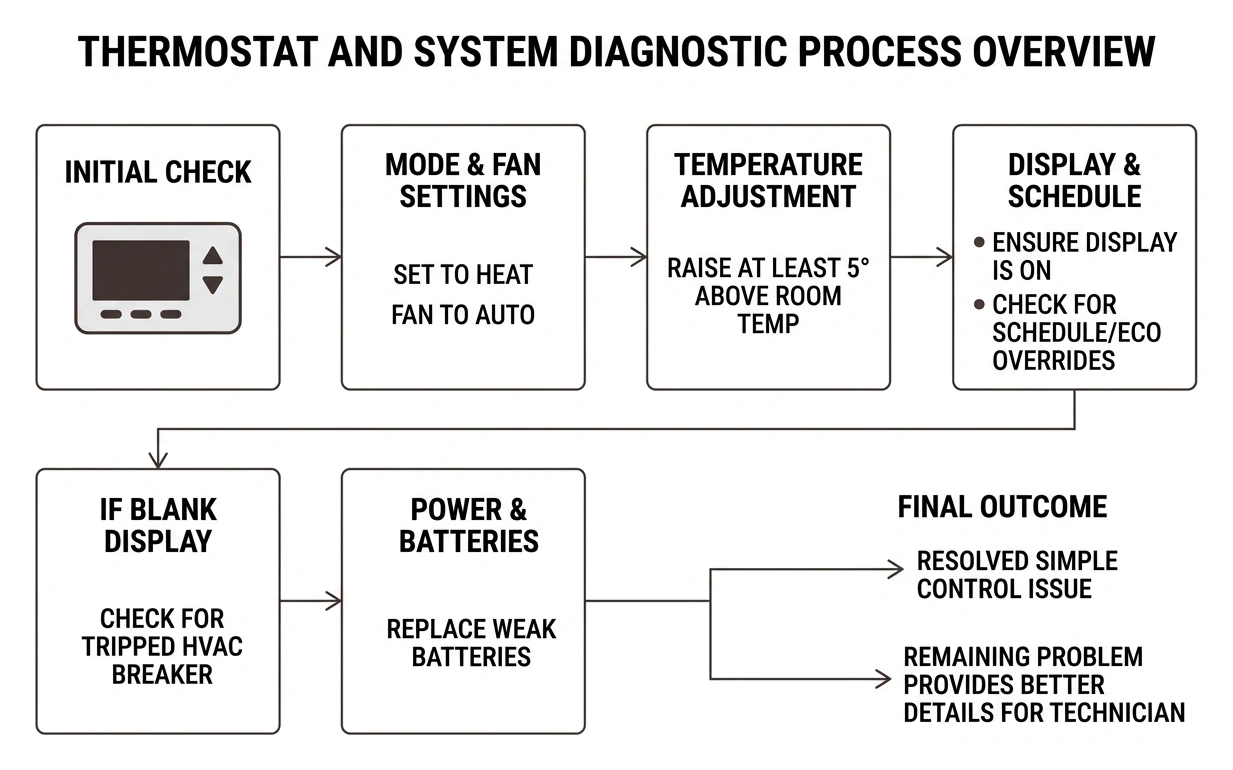
Before requesting heat pump repair in Cornelius, OR, check your thermostat first. Set it to Heat, set the fan to Auto, and raise the temperature at least 5 degrees above the current room temperature. Make sure the display is on, replace weak batteries if needed, and check that no schedule, Eco, or Away setting is overriding your choice. If the screen is blank, look for a tripped HVAC breaker before touching any wiring. These quick checks can help you find a simple control issue and give a technician better details if the problem remains.
Learn about heat pump service or schedule local heat pump repair.
Best Owner Direct HVAC & Electrical is a family-owned HVAC company based in Cornelius, OR, serving homeowners and businesses across the Portland metro and nearby Oregon communities. I am Chandrine Stepisnik, and the next steps will help you check your thermostat safely and know when to call for help.
If your heat pump still will not respond after these checks, schedule local heat pump repair.
Why You Should Learn How to Check Your Thermostat Before Calling for Heat Pump Repair
When the chilly dampness of a Pacific Northwest autumn or winter settles across Hillsboro, Beaverton, or Tigard, your home relies heavily on its heating system to maintain a balanced, comfortable indoor climate. Discovering that your indoor air feels lukewarm or that the system has stopped cycling entirely can cause immediate concern. However, reaching straight for your phone may lead to spending time waiting for an issue you can solve in a few minutes.
Industry data shows that roughly 25% of HVAC repair calls turn out to be thermostat-related issues that homeowners could have caught themselves with a few straightforward checks. Space heating and air conditioning accounted for more than 52% of the average U.S. household's annual energy consumption in recent studies, making system efficiency critical for everyday comfort and utility management.
Understanding your controls delivers several distinct advantages:
- Avoid Unnecessary Service Interruptions: Many calls stem from depleted batteries, accidental scheduling shifts, or incorrect fan modes. Identifying these prevents downtime.
- Improve Energy Efficiency: An improperly calibrated control unit or a poorly scheduled system can cause extensive runtimes. Certified smart thermostats are proven to reduce heating runtime by an average of 8% and cooling runtime by 10%.
- Protect System Longevity: A well-maintained heat pump typically lasts 15 to 20 years, whereas unaddressed short-cycling or incorrect settings can accelerate wear, leading to replacement at year 10 to 12. The energy consumption gap between a well-maintained heat pump and a neglected one ranges from 10% to 25%.
- Provide Clearer Diagnostic Context: If a repair visit is required, being able to describe the thermostat's behavior helps our licensed technicians resolve the issue faster upon arrival.
Essential Safety Precautions and Preliminary System Checks
Before interacting directly with the internal wiring or components of any control device, prioritize basic safety precautions. While control terminals generally operate on low voltage (24 volts AC), handling them improperly or causing accidental short circuits can blow internal control board fuses on your indoor air handler.
Follow these safety and preliminary checks before opening any equipment:
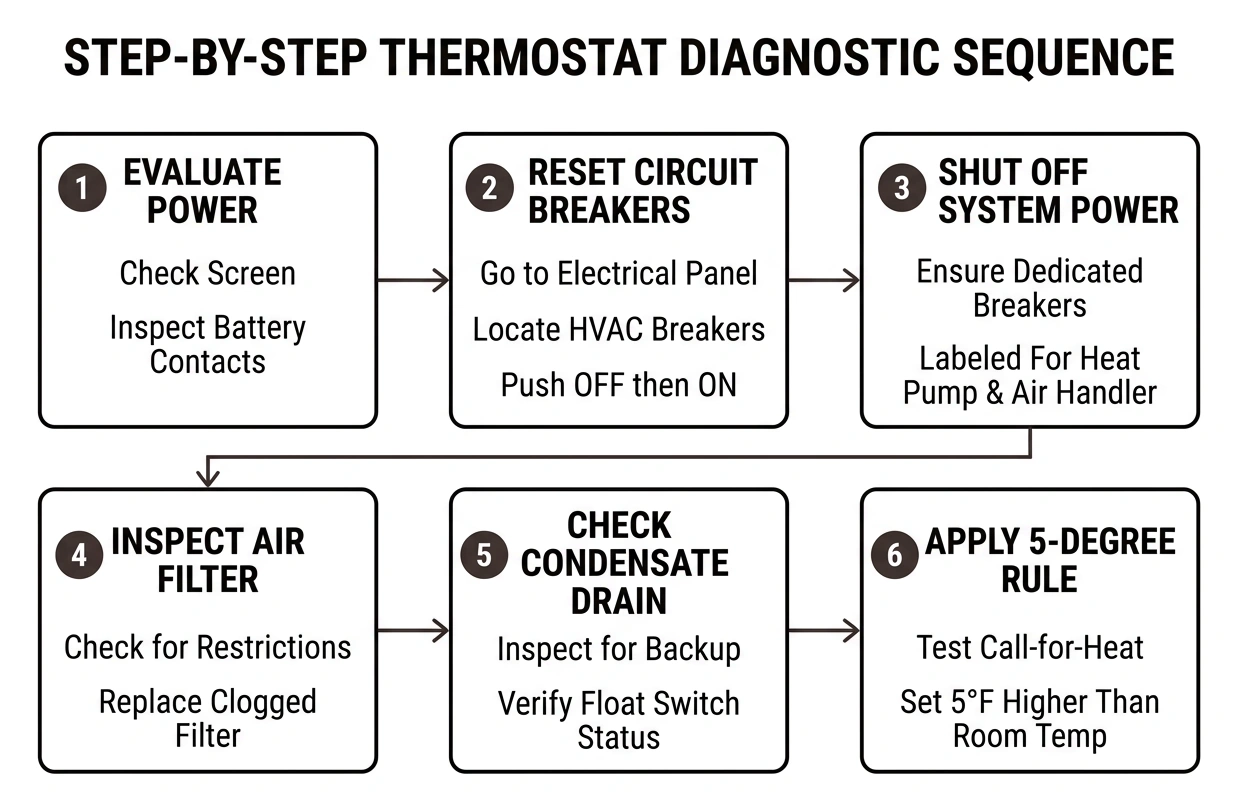
- Shut Off Power at the Electrical Panel: Locate your main breaker box. Switch off the dedicated breakers labeled for your heat pump (outdoor compressor) and the indoor air handler/furnace unit. Never pull off a thermostat faceplate to expose internal terminals while the HVAC system is energized.
- Inspect the Air Filter First: Airflow restrictions are among the most common culprits behind apparent system failures. A severely clogged filter restricts return air, triggering high-limit safety switches that disable heating while leaving the thermostat powered. Inspecting and replacing a dirty filter resolves a surprising number of heating issues.
- Check the Condensate Drain and Float Switch: High-efficiency indoor air handlers feature float switches that shut down the 24V control circuit if water backs up in the drain line. If this switch activates, your thermostat might lose power entirely, mimicking a dead unit.
- Apply the 5-Degree Rule: Once power is verified, test the call-for-heat mechanism by adjusting the setpoint at least 5°F higher than the ambient room reading. Heat pumps use staging logic; asking for a subtle 1-degree change may not immediately engage the compressor or auxiliary components due to built-in system delay timers.
Step-by-Step Guide: How to Inspect Thermostat Power, Settings, and Wiring
A systematic evaluation ensures you do not overlook minor configuration errors. If your heat pump is unresponsive, proceed through the following diagnostic steps.
Power and Display Evaluation
- Check the Screen: If the screen is completely blank, determine how the unit receives power. If it relies on AA or AAA alkaline batteries, remove the faceplate and install fresh, high-quality batteries.
- Inspect Battery Contacts: Look for white, chalky corrosion on the metal battery tabs. Clean the tabs using a dry cotton swab to ensure a secure electrical connection.
- Check the Circuit Breakers: Go to your electrical service panel. Look for tripped dual-pole or single-pole switches powering your heating system. Reset any tripped breakers by pushing them firmly to the "Off" position before moving them back to "On."
System Reset Procedure
Digital thermostats can occasionally experience software lockups following power surges or brownouts:
- Turn the system switch to "Off."
- Remove the faceplate from its wall base for 60 seconds to discharge the internal capacitors.
- Reattach the faceplate, set the mode back to "Heat," and wait at least 5 minutes. Most modern heat pumps feature a 3- to 5-minute internal compressor delay timer designed to prevent short-cycling damage.
How to Check Your Thermostat Before Calling for Heat Pump Repair: Verifying Mode, Fan, and Temperature Settings
Configuration errors are remarkably common, especially during transitional weather in areas like Lake Oswego, Oregon City, or Forest Grove when daytime and nighttime temperatures swing dramatically.
- System Mode Verification: Confirm that the selector switch is firmly placed on Heat rather than Cool, Off, or Aux Heat Only. If your thermostat has an "Auto-Changeover" mode, ensure the heating setpoint is not set lower than the current room temperature.
- The Fan Setting (Auto vs. On): Check that your fan is set to Auto. When the fan is set to On, the indoor blower runs continuously even when the heat pump outdoor unit is not generating warmth. Because room-temperature air blowing across your skin feels cool compared to your 98.6°F body temperature, you might assume your heating system has failed when it is simply circulating room air.
- Clear Schedules and Overrides: Look for active hold statuses. An accidental "Eco," "Away," or vacation schedule can force the system into an energy-saving setback mode. Press the "Hold" or "Run Schedule" buttons to ensure the thermostat follows your immediate manual command.
- Check Calibration Using the 2-Degree Rule: Thermostat sensors can drift over time. Place an accurate, independent digital thermometer directly next to your wall thermostat. Allow it to settle for 15 minutes. If the reading on your wall display differs from the thermometer by more than 2°F, your unit may require manual recalibration through its internal menu settings.
How to Check Your Thermostat Before Calling for Heat Pump Repair: Inspecting Physical Components and Wiring
If the software settings and power sources are functioning properly, inspect the physical mounting and low-voltage wiring behind the wall unit.
- Turn Off System Power: Ensure the breaker for the air handler is turned off before removing the faceplate.
- Inspect Wall Subbase Leveling: Older mechanical and mercury thermostats must be level to register temperatures accurately. Even modern electronic sensors can be affected if cold air is drafting through an unsealed hole in the drywall behind the mounting subbase. Seal any gaping wall openings behind the baseplate using insulating putty or foam tape.
- Inspect Terminal Connections: Ensure each color-coded wire is secured beneath its respective terminal screw:
- R / Rc / Rh: 24V power supply from the transformer.
- C (Common Wire): Provides a continuous 24V return path to keep Wi-Fi and digital displays illuminated.
- W / W1 / AUX: Controls secondary auxiliary electric heat strips.
- Y / Y1: Compressor call for standard heating and cooling.
- G: Indoor blower fan relay.
- O / B: Reversing valve control that switches the heat pump between heating and cooling cycles.
- Check for Corrosion or Loose Leads: Coastal humidity or local dampness can cause low-voltage copper wiring to oxidize over time. Gently tug each wire to verify it is firmly clamped. If a wire looks darkened or corroded, strip back 1/4 inch of fresh copper wire before reseating it in the terminal clamp.
- Remove Dust and Debris: Dust buildup on electronic circuit boards and thermistors insulates components, leading to inaccurate temperature readings. Gently brush the subbase using a clean, soft paintbrush or blow away debris with a can of compressed air.
Distinguishing Thermostat Issues From Heat Pump Mechanical Failures
Determining whether an issue originates at your wall control or within the mechanical refrigeration circuit helps you take the proper next step.
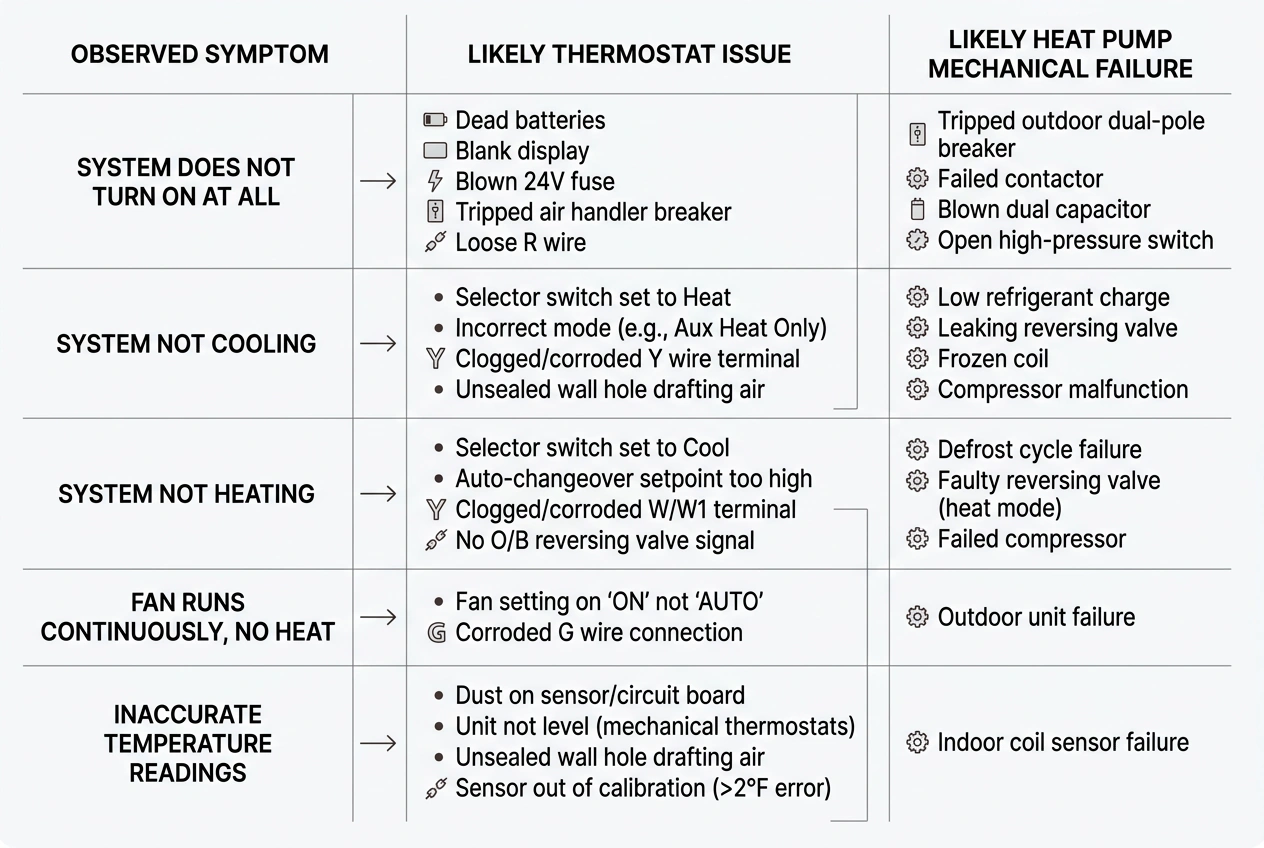
Use this comparison table to identify the root cause of common system symptoms:
| Observed Symptom | Likely Thermostat Issue | Likely Heat Pump Mechanical Failure |
|---|---|---|
| System does not turn on at all | Dead batteries; blank display; blown 24V fuse; tripped air handler breaker; loose R wire. | Tripped outdoor dual-pole breaker; failed contactor; blown dual capacitor; open high-pressure switch. |
| Blowing room-temperature air | Fan set to "On" instead of "Auto"; incorrect O/B reversing valve configuration in setup menu. | Low refrigerant charge; stuck reversing valve; malfunctioning compressor; failed defrost control board. |
| Frequent Short-Cycling (turning on/off every few minutes) | C-wire power dropping; poor sensor calibration; heat anticipator set incorrectly; thermostat mounted in direct sunlight or draft. | Dirty indoor/outdoor coils; restricted expansion valve (TXV); severely clogged filter; high head pressure. |
| AUX heat running constantly | Temperature setpoint raised more than 3°F above room temperature; improper multi-stage configuration. | Outdoor compressor failing; severe outdoor coil icing; extremely low outdoor ambient temperatures preventing heat extraction. |
| Outdoor unit iced over solid | Thermostat set to Emergency Heat, keeping outdoor unit disabled while ice accumulates. | Failed defrost sensor; bad defrost control board; faulty reversing valve; stuck outdoor fan motor. |
| Clicking sounds at wall, but nothing starts | Thermostat relay is closing properly, ruling out a thermostat logic fault. | Failed start capacitor, seized compressor, or broken 24V contactor coil outside. |
If your thermostat displays a call for heat (such as an icon showing active heat operation), you hear the relay click, but the outdoor fan and compressor do not respond, the problem lies within the outdoor electrical contactors, capacitors, or internal safety controls. These mechanical and electrical elements require professional evaluation.
Frequently Asked Questions About Thermostat Troubleshooting
Why is my thermostat screen blank even after changing the batteries?
A screen that remains blank after installing fresh batteries typically points to an interruption in the 24-volt electrical circuit supplying the subbase. Many smart thermostats rely solely on the "C" (common) wire for steady power. If the indoor air handler's primary electrical breaker is tripped, or if the condensation pan float switch has activated to prevent water overflows, power to the C-wire is cut automatically. Inspect your breaker panel and check whether the condensate drain pan under your indoor air handler contains standing water.
How do I know if my thermostat is miscalibrated?
To verify calibration, mount an accurate digital household thermometer right next to your thermostat, ensuring it does not touch the wall surface directly. Leave it undisturbed for 15 to 20 minutes without adjusting the heating setpoint. Compare the two readings. If there is a variance greater than 2°F, check whether the wall cavity behind your thermostat has an open hole allowing unconditioned wall-cavity drafts to hit the internal sensor. If no drafts are present, access your thermostat's advanced settings menu to adjust the temperature offset calibration.
What does the AUX heat indicator mean on my thermostat?
The "AUX" (Auxiliary Heat) indicator informs you that your heat pump has engaged secondary electric resistance heating strips to supplement outdoor heat extraction. This occurs naturally under three conditions:
- When outdoor temperatures drop below the system's balance point and outdoor air alone cannot satisfy household demand.
- When you raise the indoor temperature setpoint by 3°F or more all at once.
- During a periodic defrost cycle, when the outdoor unit reverses briefly to melt exterior coil frost while the electric strips temper the indoor air to prevent blowing cold air into your home.
If the AUX heat light remains illuminated continuously during mild weather above 40°F, it may indicate that your outdoor compressor is not operating or the staging logic requires recalibration.
Ensure Consistent Home Comfort with Professional Care
Taking a few minutes to check battery condition, confirm heating modes, and inspect your thermostat subbase can often resolve heating interruptions without unnecessary delays. Keeping your system properly configured maintains consistent indoor comfort throughout the cooler seasons across the Pacific Northwest.
Best Owner Direct HVAC & Electrical is a family-owned HVAC, electrical, and water-heater services company based in Cornelius, OR, serving homeowners and businesses throughout the Portland metro and surrounding Oregon communities—including Beaverton, Hillsboro, Tigard, Lake Oswego, Newberg, Tualatin, and West Linn. If your preliminary checks confirm that your thermostat is calling for heat but your system remains unresponsive, contact our team to schedule a comprehensive professional heat pump inspection. Our licensed technicians are ready to provide prompt, reliable service to ensure your home stays warm and efficient all year long.


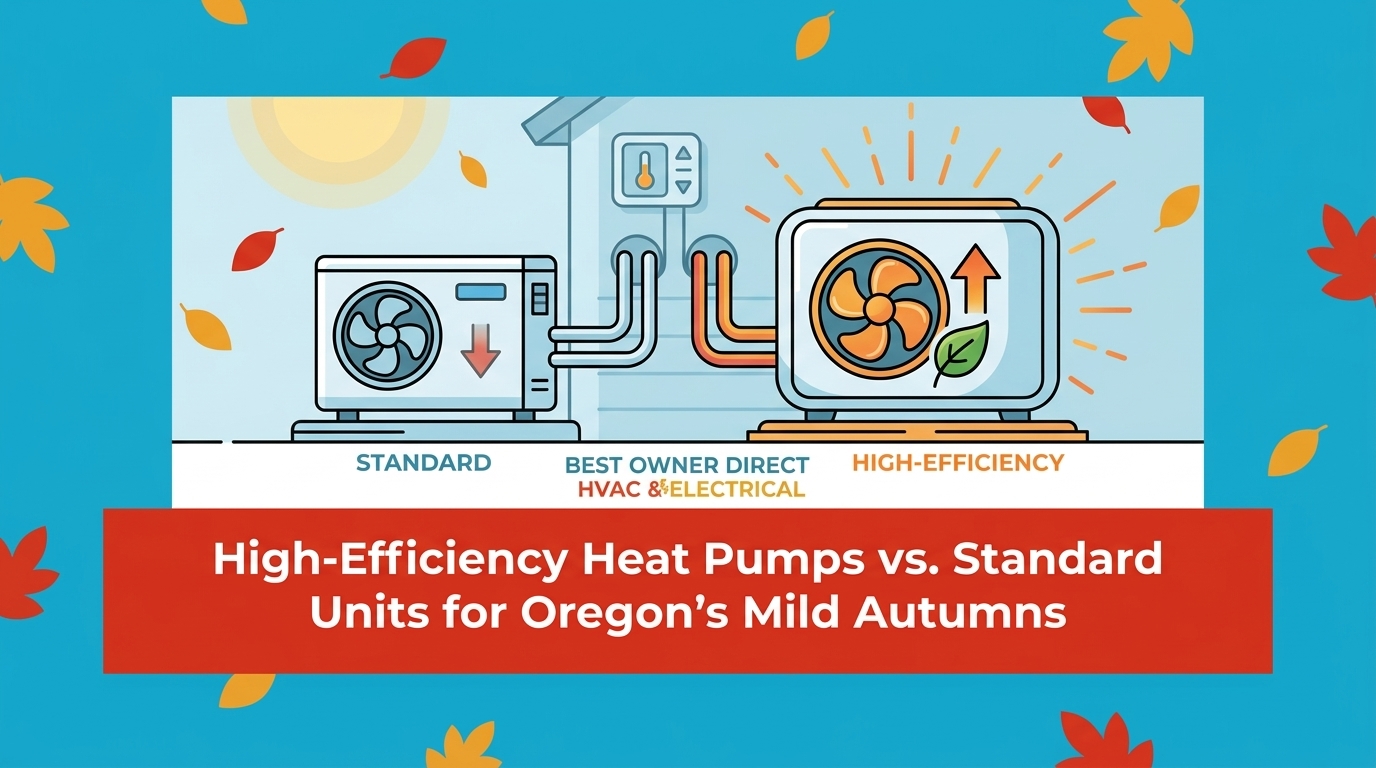
High-Efficiency Heat Pumps vs. Standard Units for Oregon's Mild AutumnsStandard heat pumps often blast too much heat on chilly fall mornings, causing uncomfortable temperature swings. Inverter-driven systems solve this by providing gentle, constant warmth.
Read more
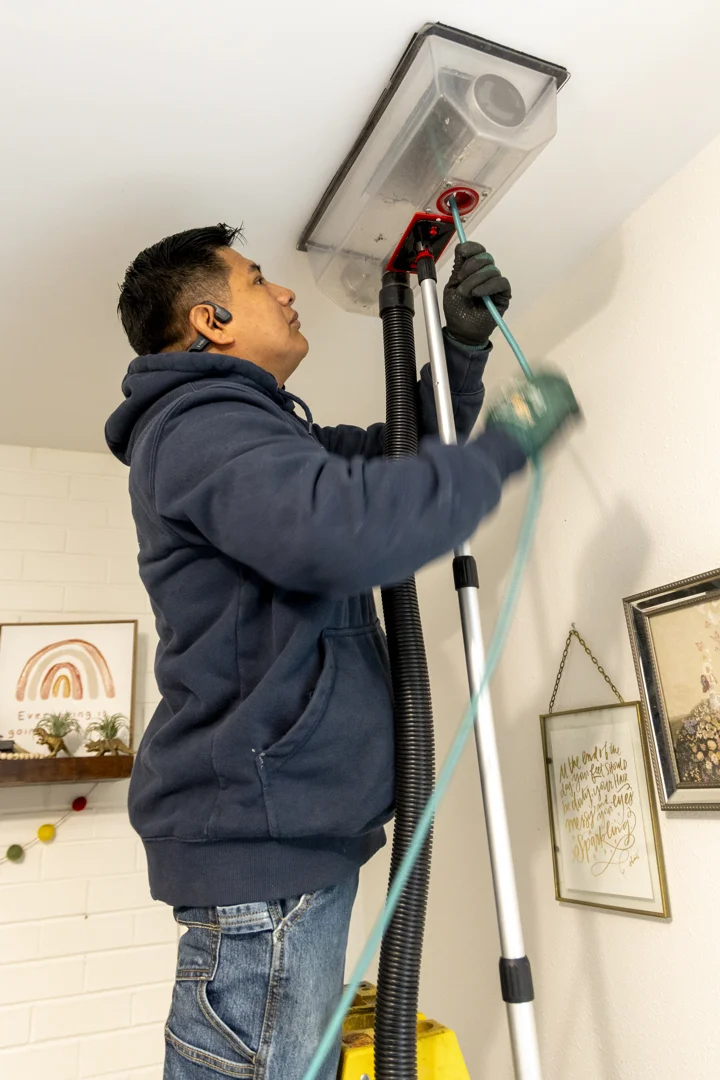
How Airflow Affects Your AC Performance: A Practical GuideLearn how airflow affects your air conditioners performance, from coil freeze-ups to uneven cooling, and optimize your system's efficiency.
Read more
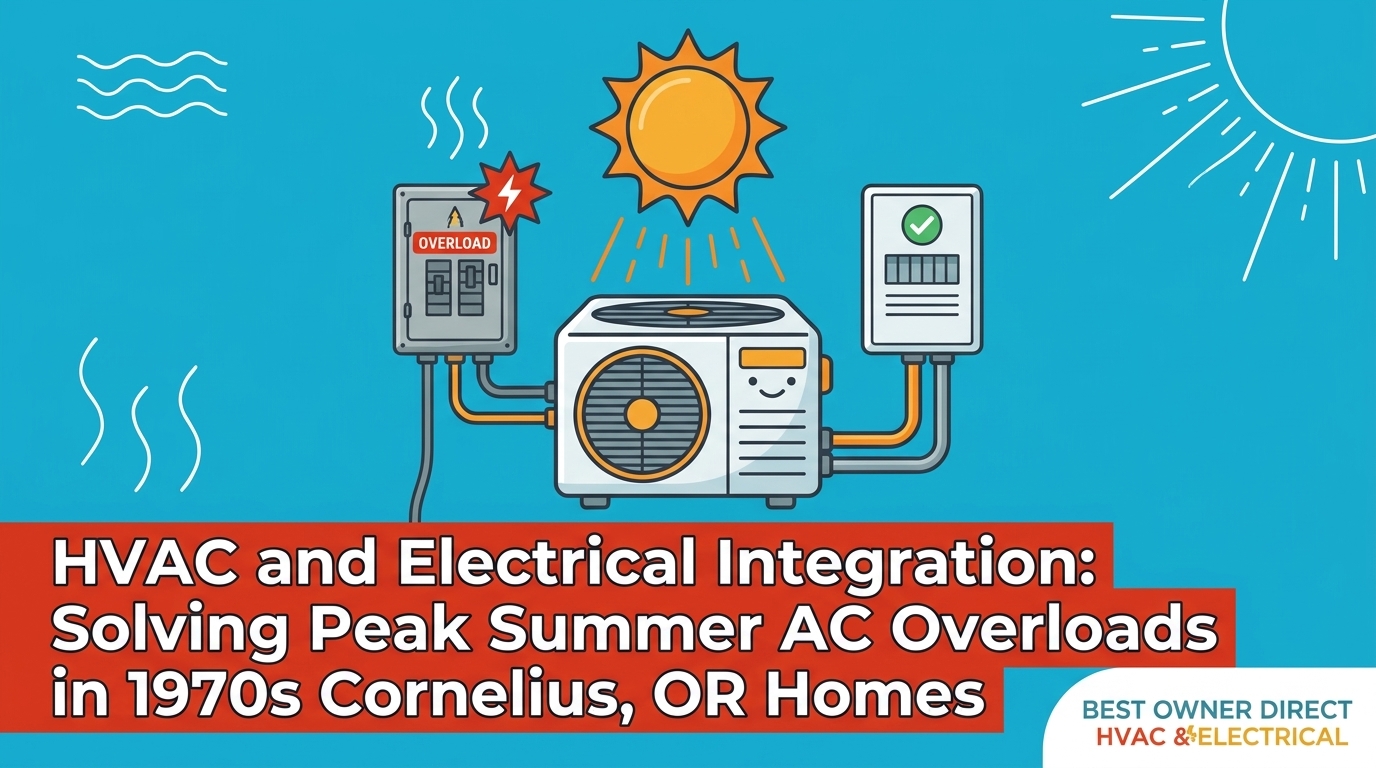
How Cornelius Homes Handle Peak Summer AC Loads on Older Electrical PanelsModern AC units often overwhelm aging 1970s electrical panels during intense summer heat. Review the warning signs and specific upgrades needed to keep your home safely cooled.
Read more